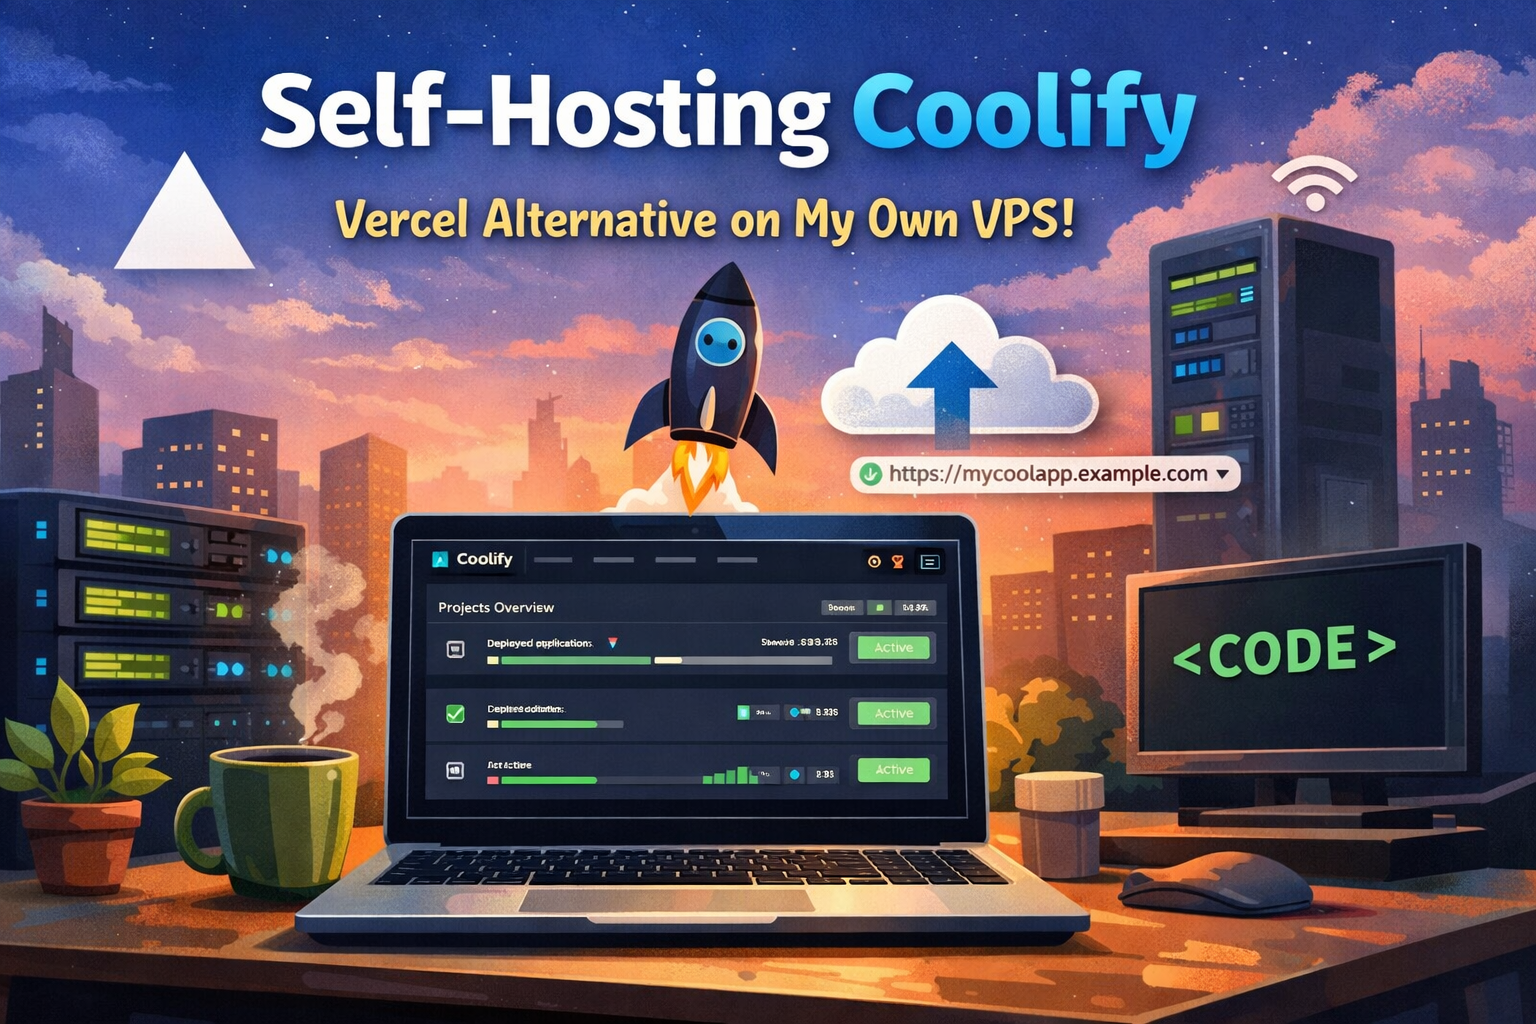
Side Quest: Self-Hosting Coolify as a Vercel Alternative
The Motivation 🚀
I love Vercel. It’s fast, polished, and has an excellent developer experience.
But over time, I started feeling boxed in.
- Background jobs? Limited.
- Long-running processes? Nope.
- Pricing at scale? 😬
- Databases and workers? Scattered across multiple platforms.
I didn’t want more tools.
I wanted ownership.
So I decided to self-host my own deployment platform using Coolify, running entirely on my own VPS.
This post documents that journey — from a fresh server to a fully working, HTTPS-enabled Coolify setup that replaces most of what I used Vercel for.
What Is Coolify? 🧠
Coolify is an open-source, self-hosted PaaS.
Think of it as:
Vercel + Railway + Render — but you own the server
With Coolify, you get:
- Git-based deployments
- Docker isolation
- Automatic HTTPS (Let’s Encrypt)
- Support for frontend, backend, workers, and databases
- One dashboard for everything
- No vendor lock-in
The trade-off?
You manage the server.
For me, that was a feature — not a bug.
The Setup 🏗️
Here’s the infrastructure I used (genericized):
| Component | Value |
|---|---|
| VPS Provider | Any modern VPS provider |
| OS | Ubuntu 24.04 LTS |
| Reverse Proxy | Traefik (via Coolify) |
| SSL | Let’s Encrypt |
| Domain | coolify.example.com |
Nothing exotic. Just a clean VPS and a domain.
Step 1: Provision the VPS 🖥️
Spin up a VPS with Ubuntu 24.04 LTS.
Recommended minimum specs:
- 2 CPU cores
- 4 GB RAM
- 40 GB disk
Once the server is ready, SSH in:
ssh root@<SERVER_IP>Always start with updates:
apt update && apt upgrade -yStep 2: Install Docker & Firewall 🛠️
Coolify runs entirely on Docker.
Install Docker:
curl -fsSL https://get.docker.com | sh
systemctl enable --now docker
Install Docker Compose if needed:
apt install docker-compose -yFirewall (UFW)
Open the required ports:
ufw allow 22/tcp
ufw allow 80/tcp
ufw allow 443/tcp
ufw allow 8000/tcp
ufw enable
Verify:
ufw statusStep 3: Install Coolify ⚡
Coolify’s install process is refreshingly simple.
Run this one command:
curl -fsSL https://get.coolify.io | bashAfter a few minutes, Coolify will be running on:
http://<SERVER_IP>:8000Open it in your browser and create the first admin account.
⚠️ The first registered user becomes the root admin — do this immediately.
Step 4: DNS Configuration 🌐
Create a DNS record for your Coolify dashboard.
Example:
A coolify <SERVER_IP>This will point:
coolify.example.com → <SERVER_IP>Wait a few minutes for DNS propagation.
You can verify from the server:
dig +short coolify.example.comStep 5: Enable HTTPS 🔒
Coolify uses Traefik + Let’s Encrypt automatically.
Edit Coolify’s environment file:
cd /data/coolify/source
nano .env
Set:
APP_URL=https://coolify.example.com
COOLIFY_FQDN=coolify.example.com
Save, then restart Coolify in production mode:
docker compose down
docker compose -f docker-compose.yml -f docker-compose.prod.yml up -d
After a short wait, open:
https://coolify.example.comIf everything is correct:
- HTTPS is enabled
- A valid Let’s Encrypt certificate is issued
- Traefik handles renewals automatically
Deploying Apps (Vercel-Style, But Freer) 📦
Deploying apps feels familiar:
- Connect a Git repository
- Choose branch
- Set build & start commands
- Add environment variables
- Deploy
Example build commands:
npm install
npm run build
npm start
But unlike Vercel, you can now:
- Run long-lived servers
- Use WebSockets
- Run background workers
- Host databases next to your app
- Use custom Dockerfiles
No edge limits. No cold starts.
Built-In Services 🧰
Coolify isn’t just for apps.
You can deploy:
- PostgreSQL
- Redis
- MySQL
- n8n
- Cron jobs
- Workers
All from the same dashboard.
One server. One bill.
Debugging & Logs 🧪
When something breaks (and it will), Coolify makes debugging sane.
Useful commands:
docker ps
docker logs coolify
docker logs coolify-proxy
If you ever see “No available server”, it usually means:
- The app container isn’t healthy
- The app isn’t listening on the expected port
- DNS or domain mismatch
Logs almost always tell the truth.
Trade-Offs ⚖️
Self-hosting isn’t free magic.
Pros
- Full control
- Predictable costs
- Backend + frontend together
- No vendor lock-in
- You own your data
Cons
- You manage updates
- You manage backups
- You are the ops team
If you enjoy understanding your stack, this is empowering.
Coolify vs Vercel 📊
| Feature | Vercel | Coolify |
|---|---|---|
| Frontend apps | ✅ | ✅ |
| Backend services | ❌ | ✅ |
| Background jobs | ❌ | ✅ |
| Databases | ❌ | ✅ |
| WebSockets | ⚠️ | ✅ |
| Cost control | ❌ | ✅ |
| Vendor lock-in | High | None |
Coolify doesn’t just replace Vercel — it replaces an entire stack.
Final Thoughts 🎯
This started as a weekend experiment.
It ended with me running my own deployment platform, on my own infrastructure, with no artificial limits.
More responsibility — but also more freedom.
If you’re tired of platform constraints and want to truly own your stack, Coolify is absolutely worth exploring.
The best cloud is the one you understand.
Key Takeaways ✅
- Coolify is a powerful Vercel alternative
- One VPS can host apps, databases, and workers
- HTTPS and deployments are automatic
- You trade convenience for control — intentionally